

Audio is an integral part of any video. Good music can help to bring the right emotions and set up the mood for your video. But, music video editing is a bit more complicated than just adding the right audio.
This article will come in handy for those who want to learn how to edit music videos more effectively. Keep reading if you want to find some useful tips on music video editing.
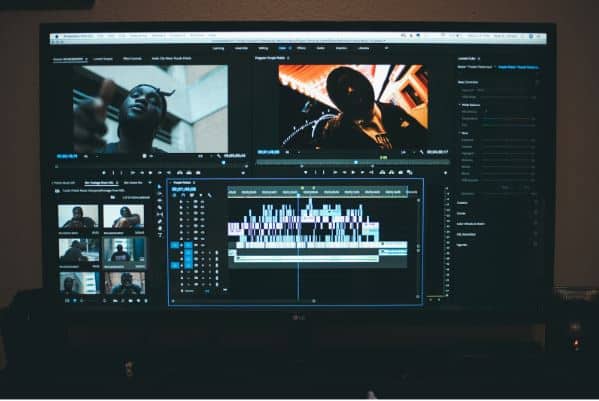
#1 Choose a Proper Video Editor
The first step in creating amazing videos is to choose a good video editing software. With a video editor that has a convenient interface and all the tools you might need, it will be much easier to make a music video. Thus, take some time and take a look at different options before starting.
There are a lot of video editing tools that can help you to create music videos quickly and easily. For example, some of the popular video editing software are Premiere Pro, Movavi, and DaVinci Resolve. Each of them is great, but you can try them and choose the most convenient for you.
Additionally, you can find a lot of useful guides, like how to slow down a video or create a Picture in Picture in a video editor, that will help you to learn and use different effects and techniques for your music video.
#2 Organize the Working Process
Being consistent is the key to effective editing. You need to have a step-by-step plan for creating a great music video. For example, start by creating a storyline. If you didn’t think of the story before shooting a video, you need to do it at the start of editing your music video. Brainstorm your ideas, find the key scenes, and create a story around them.
Then, you need to cut the performance which is the main focus of your video. Cutting and arranging shots will help you to create a framework for your music video, get the flow, and understand where to add B-roll shots. At this point, you can think of cutaway shots that will complement your storyline the best and give viewers a better idea of the space around or an object.
#3 Use J-Cuts and L-Cuts
Simple yet effective tip. So-called J-cuts and L-cuts are one of the most popular editing techniques among video makers. They are used for many different reasons, but in music videos, they are needed mostly for creating a smooth scene transition.
How do they work? Let’s start with an L-cut. This technique lies in carrying over the audio of one scene to the next one when making a transition between shots. Thus, the viewers will hear the same audio at the beginning of the next scene, which helps to make the transition more smooth.
A C-cut technique is just the opposite of an L-cut — a video from the following scene is carried over the previous scene. This effect can help to create intrigue around something, as viewers will first hear the sound and then see the context of it.
#4 Edit to the Beat
The last tip we have for you is editing to the beat. What does it mean? Everything is easy — you can show the connection between the visuals and the audio better by cutting on the beat. For example, you can connect a clip of a dance move or scene of a person falling with a music beat.
It can be hard at first to cut to the beat, but all you need is just practice. Listen to the song or any other audio you chose for your music video, add markers to the timeline, and then add clips.
Conclusion
Editing music videos is a fun process, but to do it effectively, it is important to learn some tricks and constantly practice. We hope our tips will make video editing easier for you and help you to create great music videos.


