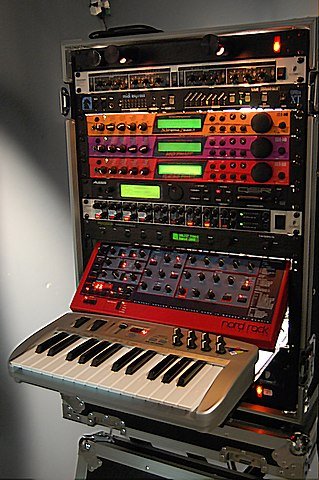
Setting up and optimizing your audio and MIDI system can greatly enhance your sound quality and overall music production experience. Whether you’re a musician, producer, or audio enthusiast, here’s a guide to help you achieve the best audio and MIDI setup on your computer:
1. Check Hardware Compatibility:
- Ensure that your audio interface, MIDI controllers, and other hardware components are compatible with your computer’s operating system. Visit the manufacturer’s website for drivers and software updates.
2. Install Drivers and Software:
- Install the necessary drivers and software for your audio interface and MIDI devices. These drivers are crucial for proper functionality and low-latency performance.
3. Set Default Audio Output:
- On your computer, set your audio interface as the default audio output device. This ensures that all system sounds and audio from applications are routed through your high-quality audio interface.
4. Adjust Buffer Size:
- In your audio interface’s control panel or software settings, adjust the buffer size (also known as the latency or sample buffer). Lower buffer sizes reduce latency but may require more processing power.
5. Choose Sample Rate:
- Select an appropriate sample rate for your audio projects. Common sample rates include 44.1 kHz and 48 kHz for music production. Higher sample rates (e.g., 96 kHz) are often used for professional audio work.
6. Configure MIDI Devices:
- Connect your MIDI controllers and configure them in your digital audio workstation (DAW) or MIDI software. Make sure MIDI input and output settings are correctly configured.

7. Optimize DAW Settings:
- In your DAW, set the audio and MIDI preferences to match your hardware setup. This includes selecting your audio interface, sample rate, and buffer size. Adjust these settings for your specific project requirements.
8. Manage Audio Inputs and Outputs:
- Route audio inputs and outputs as needed within your DAW. Create busses and set up sends to route audio signals to different processing chains and effects.
9. Monitor Latency:
- To monitor latency, use the low-latency monitoring feature in your DAW or audio interface control panel. This allows you to hear live input with minimal delay while recording.
By following these steps and regularly maintaining your audio and MIDI setup, you can optimize your sound system for the best possible audio quality and music production experience. Whether you’re recording, mixing, or performing, a well-configured setup enhances your workflow and creativity.


